


Clip-In Hair Extensions, No Salon? Here’s the Step-by-Step Guide That Actually Works
- Belinda Parkes
- Jun 8, 2025
- 3 min read

Updated: Jun 13, 2025

Whether you're adding length, volume, or a bit of both, clip-in hair extensions are a fast, commitment-free way to transform your look. This guide walks you through the exact steps to apply your MANESTORY Clip-In Extensions like a pro—no salon visit needed.

What You’ll Need:
Tail comb or pintail comb
Sectioning clips
Hairbrush or wide-tooth comb
Mirror (and a second-hand mirror if needed)
Step-by-Step Clip-In Installation
1. Prep Your Hair
Start with clean, dry, and tangle-free hair.
For curly or textured hair, gently mist with water and leave-in conditioner, then define your curls before beginning.
💗 Curly clip-ins work a bit differently. Check our blog post on Zendaya's Curly Bangs Bob to learn how to install curly textures properly. Join our waitlist to get notified the moment our curly clip-in bundles launch.
2. Section Your Hair (Start at the Bottom)
Using your tail comb, create a horizontal part at the nape of your neck.
Clip the rest of your hair up and out of the way using sectioning clips.
3. Lightly Tease for Grip
Gently backcomb the root area where the clip will attach. This gives the clips something to grip onto, especially important if you have fine or silky hair. 💡 Extra security tip: For long events like weddings or photo shoots, consider adding bobby pins to reinforce your clip-ins and prevent any slipping. How to use bobby pins with clip-ins:
Option A: The Pre-Anchor Method: Before clipping in the extension, place two bobby pins in a criss-cross pattern at the root of your section. This gives the clip a solid base to grip, especially helpful if your hair is fine or freshly washed.
Option B: The Post-Anchor Method: Once your extension is securely clipped in, slide two bobby pins in a criss-cross just below or around the clip to lock it in place. This adds extra security, perfect for long events, windy days, or lots of movement.
Additional Tips:
Pin key areas: Add discreet bobby pins near the temples, behind the ears, or anywhere clips may shift throughout the day.
Updos & styling: When styling updos, buns, or braids, use bobby pins to secure the extensions in place as you shape the style.
Thin hair hold: If your hair is very soft or fine, bobby pins add that extra layer of grip so your extensions stay secure all day.** If your hair is very soft or fine, bobby pins add that extra layer of grip so your extensions stay secure all day.
4. Install the First Weft of Clip-In Hair Extensions
Open the clips and press them firmly into the teased root area.
Start with your longest weft and place it along the parted line. Snap the clips shut.
Ready to try for a volume boost? Shop our textures to find your prefect match!
5. Continue Sectioning and Clipping
Create your next part about 1–2 inches above the previous row.
Repeat the process, moving upward toward the crown. Use smaller wefts as you go higher.
6. Avoid the Red Zone
Stop clipping wefts when you are about 2 inches below your natural part.
Leave enough natural hair on top to cover the final row of extensions completely.
What is the 'Red Zone'?
Professional stylists refer to the hairline, crown, and parting areas as the Red Zone. You should avoid placing clip-ins in these zones, as they are the most visible and any clips may show through your natural hair. Leaving a 1–2 inch buffer from your hairline and part ensures your extensions remain hidden and natural-looking.
7. Install Side Wefts
For volume near the face, part hair near your temples (outside the Red Zone) and install 1- or 2-clip wefts.
8. Blend and Style
Let down your top layers and gently brush or finger-comb to blend your natural hair with the extensions.
Style as desired: curl, straighten, or braid.
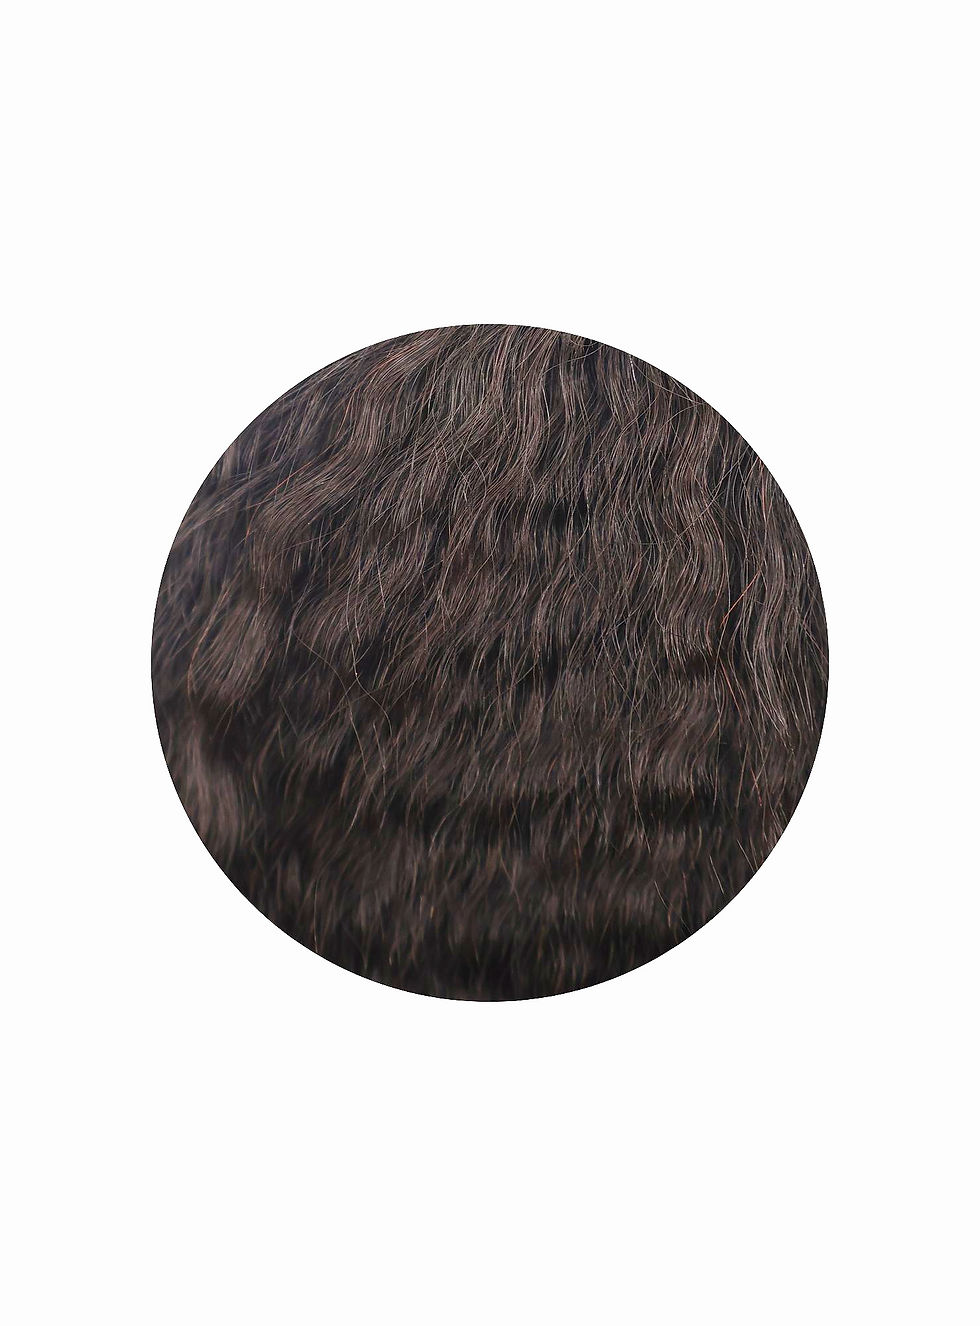
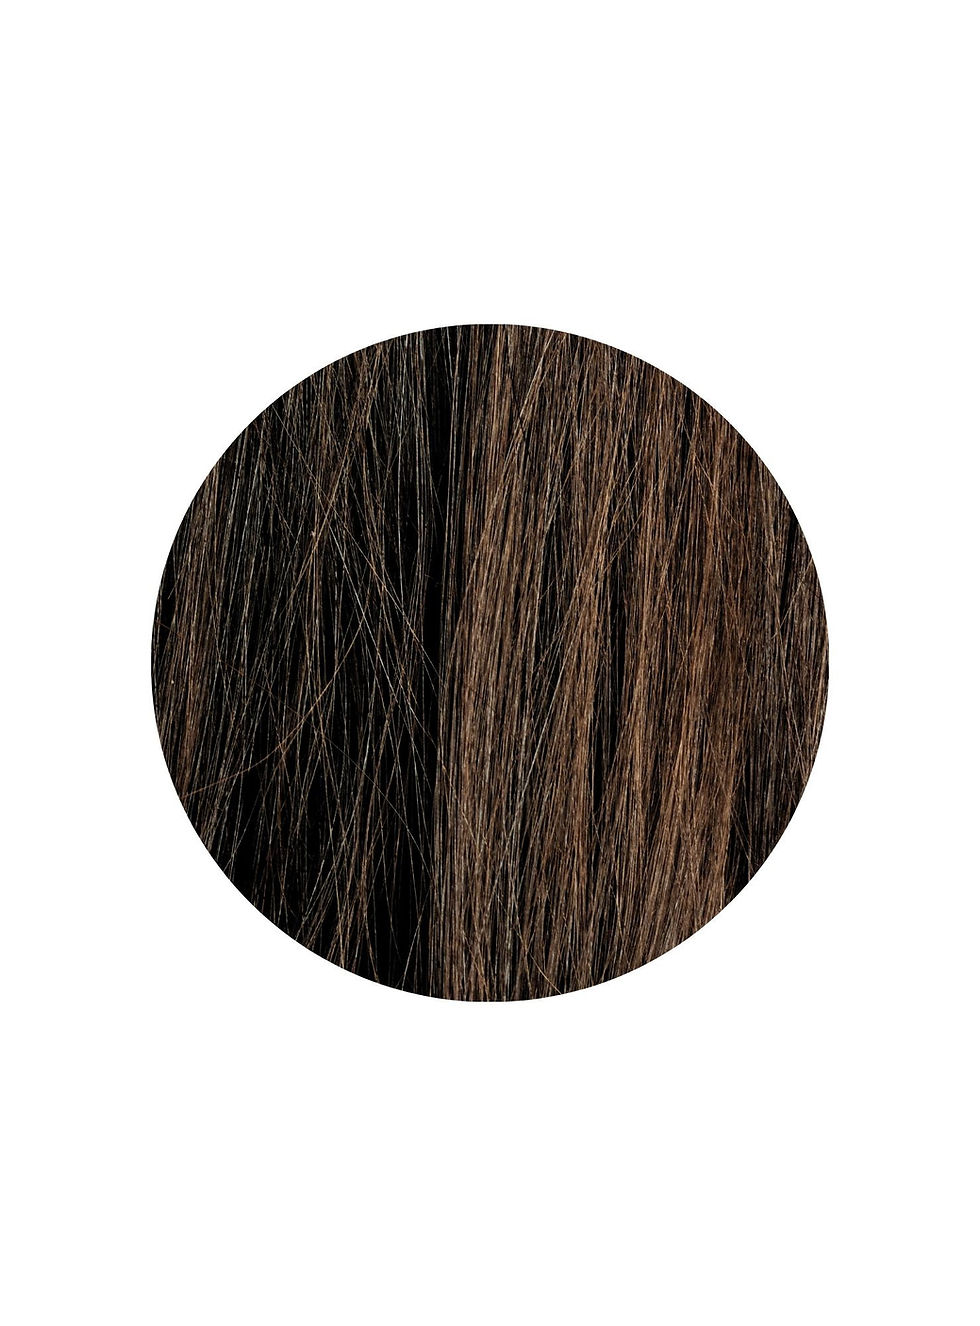
Wondering what texture is right for your? Learn about our textures below.
Can’t find your texture? Send us a message here—we’ll help you source the perfect match.
Pro Tips
Work bottom-up for more control.
Backcomb only the roots—don’t overdo it.
Always leave a buffer at the part line and hairline (the Red Zone) to keep seams hidden.
Don’t sleep in clip-ins—they’re made for daily use, not overnight wear.
Need a Print-Friendly Guide?
Why MANESTORY?
Not all hair extensions are created equal. Ours are made from 100% Remy human hair. No fillers, no shortcuts, and no surprises.
They blend seamlessly, feel light and comfortable, and hold up through high ponies, low buns, and everything in between.
We tested them for years to make sure the quality shows and lasts. Whether you're heading to work or showing up for a big moment, your hair should feel like you.
Real Hair for Real People. Zero Compromise.


